Azure Integration
An Azure integration with Cloudhouse Guardian (Guardian) allows you to automatically sync and detect nodes from your Azure instance(s) to be added to Guardian for monitoring and evaluation. This topic describes the steps you need to complete to setup an Azure integration to Guardian.
Dependencies
To add an Azure integration, you need the following:
- A Microsoft Azure account subscription.
-
Any or all of the following services enabled on the active Azure subscription:
- Activity Log Alerts.
- App Services.
- Firewall Policies.
- Firewalls.
- Function Apps.
- Key Vaults.
- MySQL Server.
- Network Interfaces.
- Network Watchers.
- PostgreSQL Servers.
- Private DNS Zones.
- Security Groups.
- SQL Servers.
- Storage Accounts.
- Virtual Machine Scale Sets.
- Virtual Machines.
- Virtual Networks.
- VPN Gateways.
- VWANs.
-
Azure Roles Based Access Control – Required for each of the above service(s) you plan to add toGuardian for monitoring. For more information, see Azure Roles Based Access Control.
Add an Azure Integration
Integrating Azure with Guardian establishes a seamless connection to streamline the process of syncing and monitoring your Azure nodes, ensuring they are efficiently scanned in Guardian.
To add an Azure integration to Guardian, complete the following:
-
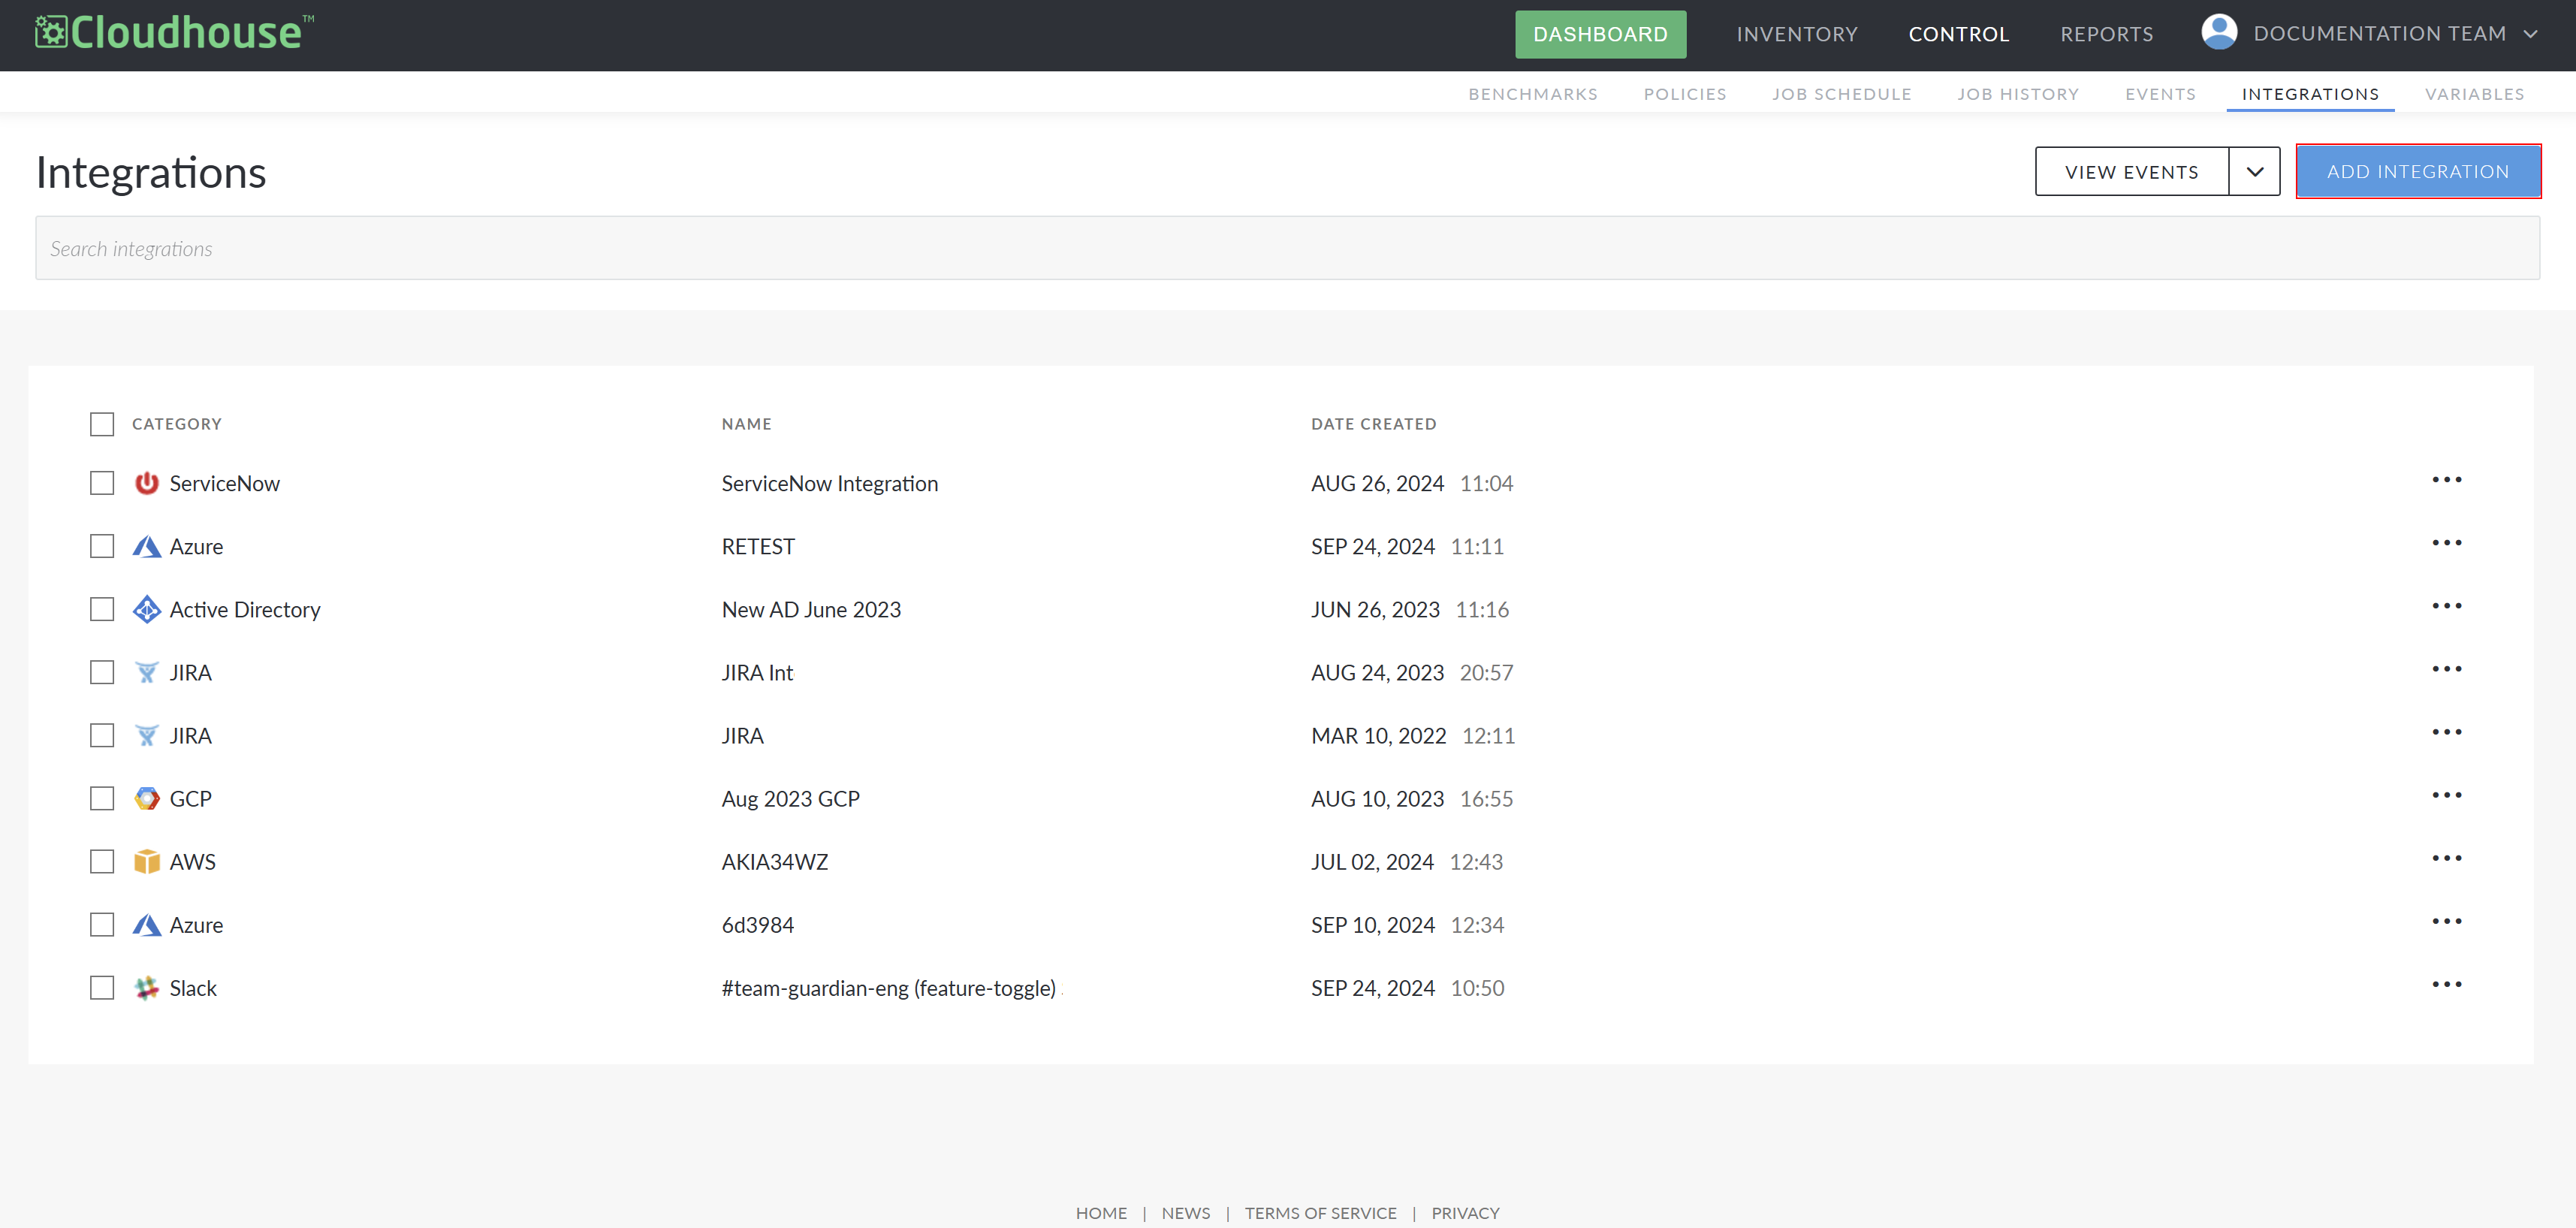
In the Guardian web application, navigate to the Integrations tab (Control > Integrations) and click Add Integration. The Add Integration page is displayed.
-
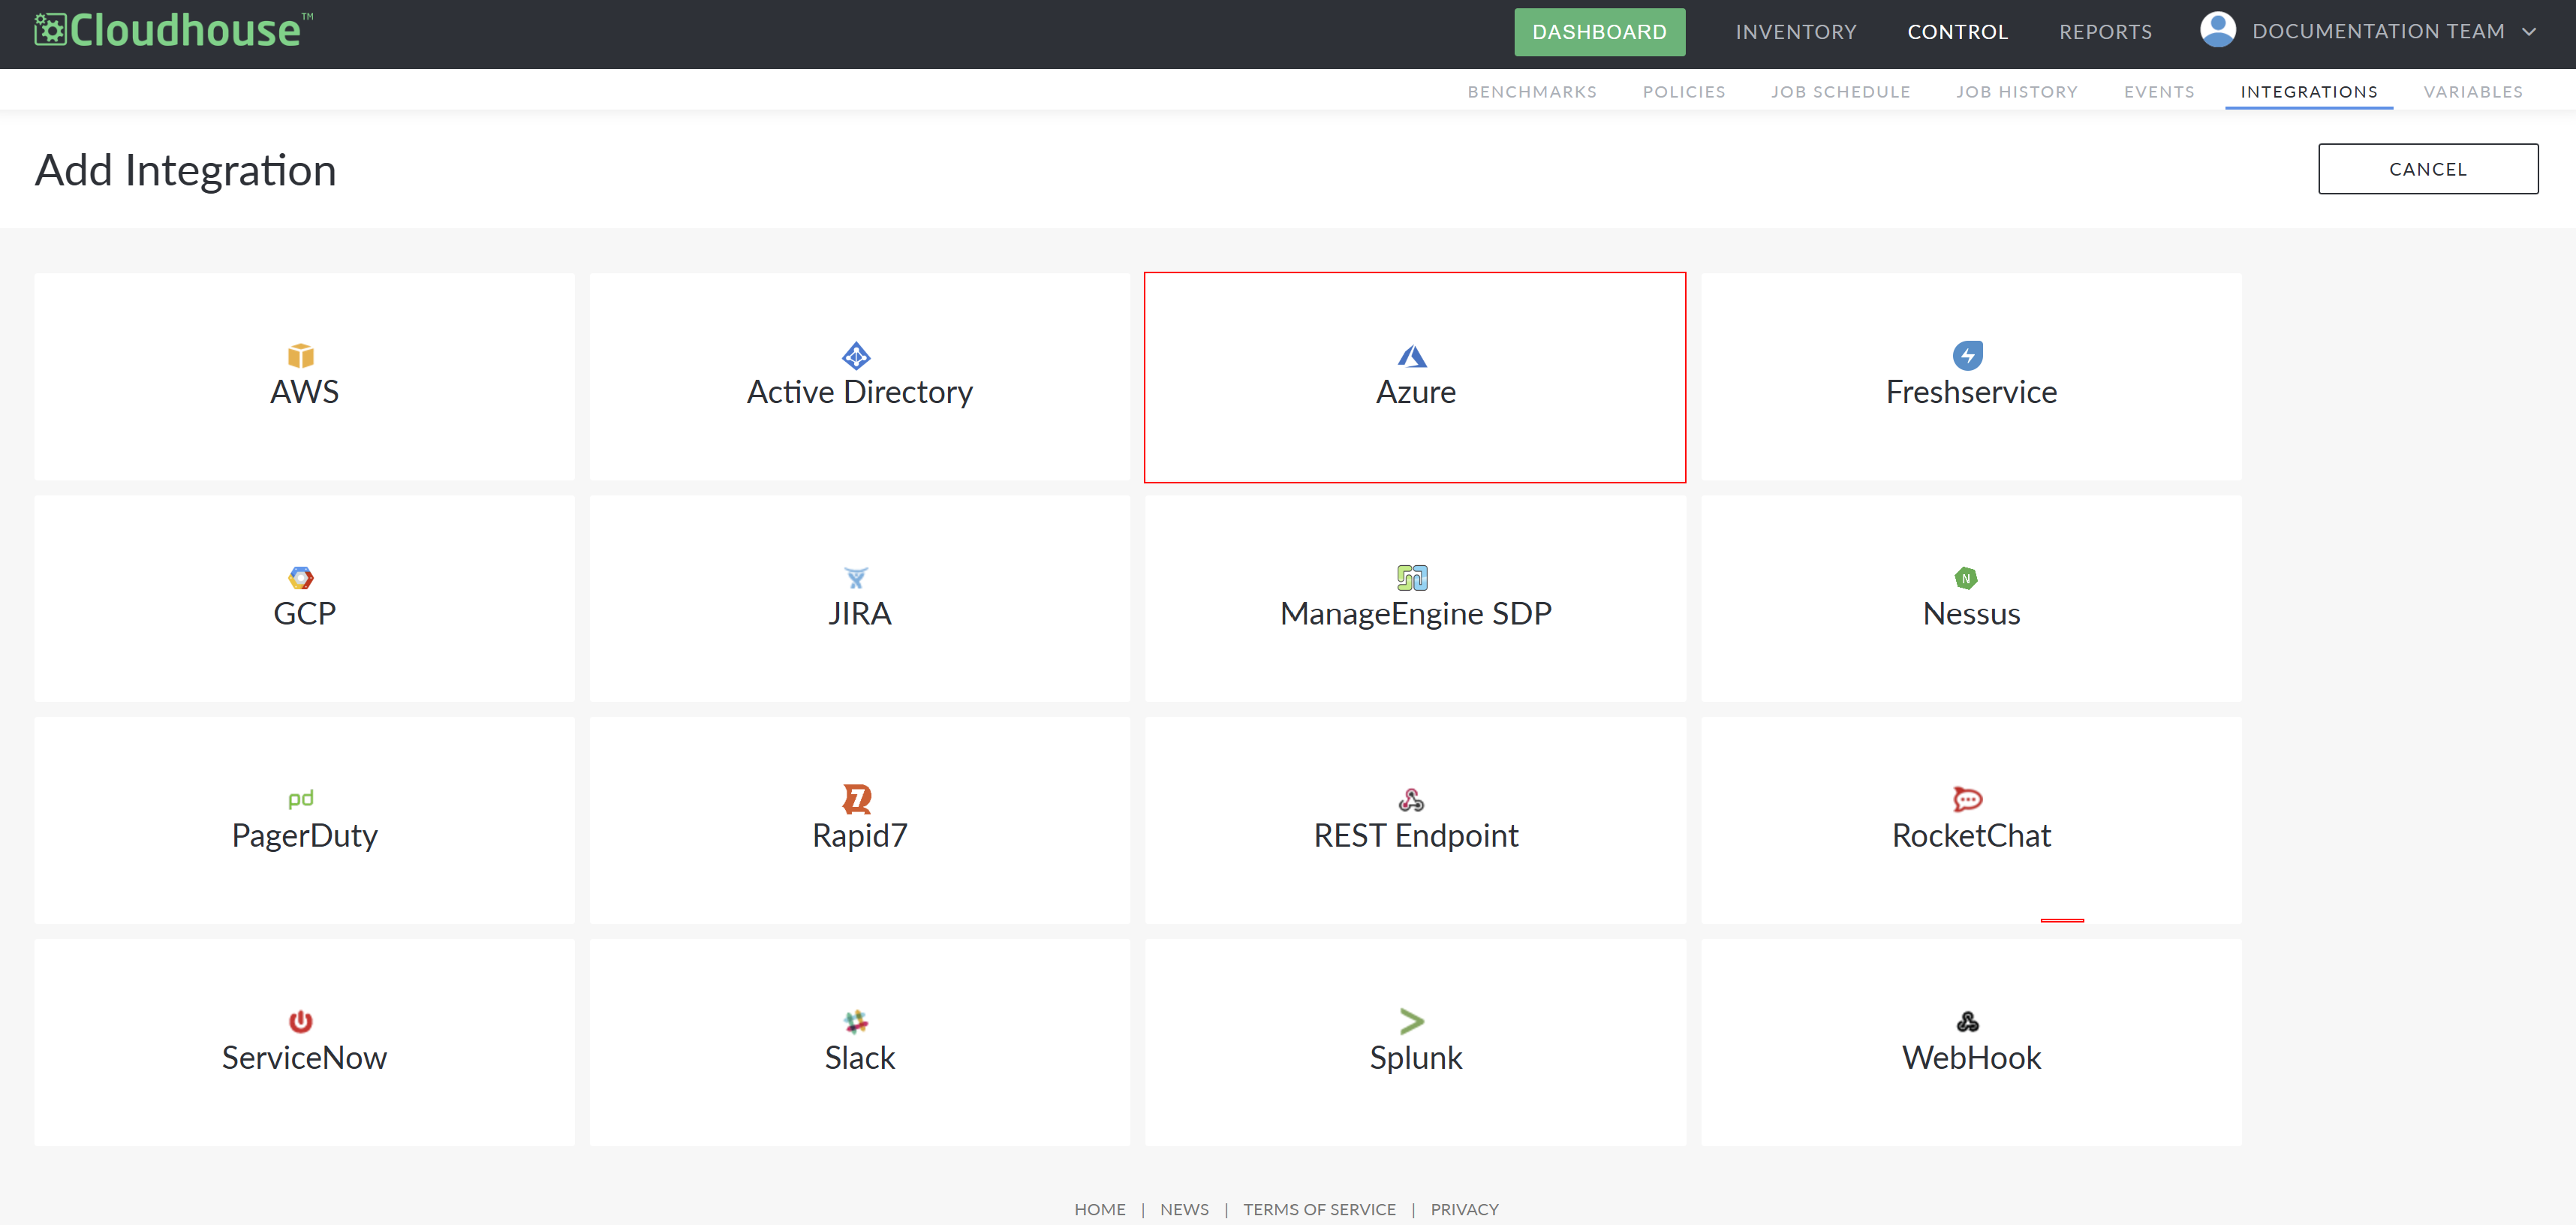
Select Azure from the list of available integrations. Here, you are required to complete the following options:
Option Description Name field The display name for the integration within Guardian. This name is how you will identify the integration among all others configured in your Guardian instance, so ensure it is descriptive. Connection Manager Group drop-down list The Connection Manager group that is responsible for scanning and retrieving your Azure node(s). Select a Connection Manager group from the drop-down list. Subscription ID field The unique alphanumeric string that identifies your Azure subscription. Enter one or more Azure subscription IDs to include in the scan. You can enter the subscription ID with either of the following methods: - Provide a comma‑separated list to scan multiple subscriptions. - Enter an asterisk (*) or leave this field blank to scan all subscriptions available in the tenant. For more information on how to source the subscription ID, see Microsoft Azure Account. Tenant ID field The Globally Unique Identifier (GUID) that represents your Microsoft Entra ID (previously Azure Active Directory) instance. For more information on how to source this, see Microsoft Azure Account. Client ID field The unique identifier assigned to your application, registered within the Microsoft Entra ID (previously Azure Active Directory) instance. For more information on how to source this, see Microsoft Azure Account. Client Secret field The unique identifier that the application uses to prove its identity when requesting a token. For more information on how to source this, see Microsoft Azure Account. Check things you want to detect checkboxes The option(s) you want to add to Guardian for monitoring. Select the checkbox(es) you want to detect. For example, ‘Activity Log Alerts’. Note: If the Virtual Machines checkbox is selected from the list of Check Things You Want To Detect checkboxes, additional fields are displayed to allow you to configure what aspects of the Compute Virtual Machines to import to Guardian. For more information on how to configure these settings, see Azure Virtual Machines . Ignore Ephemeral Nodes checkbox Option to ignore ephemeral nodes. If selected, ephemeral nodes are not imported and not included in node scans. Remove Ephemeral Nodes checkbox Option to remove ephemeral nodes. If selected, ephemeral nodes are removed from the Guardian import list. Automatically start monitoring and scanning newly detected Non-Windows nodes checkbox Option to automatically start monitoring and scanning your nodes once the Azure integration has been created. If selected, the imported nodes are automatically added to the Monitored tab (Inventory > Monitored) for regular scanning. Here, you can apply policies, create node groups, and schedule regular scans. For more information, see Monitored Nodes. If not selected, the nodes are added to the Detected tab (Inventory > Detected) for processing. To monitor the detected nodes, you must move them to the Monitored tab. For more information, see Detected Nodes. -
Once you have set the correct values for each of the options displayed, click Done to create the Azure integration.
If successful, a confirmation message is displayed and the Azure integration is added to the Integrations tab of your Guardian instance. If unsuccessful, an error message is displayed. Use the information displayed in the error message(s) to troubleshoot the values in your Azure Integration options.
Integration Outcomes
When integrating Azure with Guardian, the following outcomes are expected:
- The integration stores the credentials that you supply to Guardian securely, within the database.
- An automatic synchronization (between Guardian and Azure) occurs every two hours. For more information on how to alter this interval, see Job Schedule (Control > Job Schedule).
- The sync event calls out to Azure using the supplied credentials to return a list of detected nodes and their corresponding details.
- By default, any nodes that Guardian detects within your Azure instance are automatically stored within the Detected tab for processing.
- Alternatively, if the Automatically start monitoring and scanning newly detected nodes checkbox is selected, the detected nodes are added to the Monitored tab instead.
Troubleshooting
If you are experiencing issues with your integration, try the following:
- Verify that the account credentials supplied for the integration are correct.
- Depending on how the integration was configured, the synced nodes are either displayed on the Detected tab or the Monitored tab.
- To confirm the status of the integration sync, check the integration sync event in the Events tab (Control > Events) of your Guardian instance. For more information, see Events.
Azure Roles Based Access Control
A Global Reader role may be used to sync all supported Azure nodes. However, for more granular control, the following Azure AD roles are required as a minimum for each of the corresponding services:
| Service | Permissions |
|---|---|
| Activity Log Alerts | Activity Log Alerts Reader |
| App Services | Website Reader |
| Firewall Policies | Firewall Policies Reader Firewall Policies Rule Collection Groups Reader |
| Firewalls | Firewall Fqdn Tags Reader Firewalls Application Rule Collections Reader Firewalls NAT Rule Collections Reader Firewalls Network Rule Collections Reader |
| Function Apps | Website Reader |
| Key Vaults | Key Vault Reader |
| MySQL Servers | db_datareader |
| Network Interfaces | Network Interfaces Reader |
| Network Watchers | Network Watchers Reader |
| PostgreSQL Servers | db_datareader |
| Private DNS Zones | Private DNS Zones Reader |
| Security Groups | Key Vault Reader CDN Profile Reader CDN Endpoint Reader |
| SQL Servers | db_datareader |
| Storage Accounts | Disk Backup Reader Backup Reader Storage Blob Data Reader |
| Virtual Machine Scale Sets | Compute Virtual Machine Scale Sets Reader Compute Virtual Machine Scale Sets InstanceView Reader |
| Virtual Machines | Disk Backup Reader Backup Reader Storage Blob Data Reader Domain Services Reader Key Vault Reader CDN Profile Reader CDN Endpoint Reader |
| Virtual Networks | Virtual Networks Reader Virtual Networks Subnets Reader Virtual Networks VirtualNetworkPeerings Reader |
| VPN Gateways | Virtual Networks Reader Virtual Network Gateways Reader |
| VWANs | Virtual WANS Reader Virtual Hubs Reader VPN Sites Reader VPN Gateways Reader VPN Connections Reader |